When working with translated application, once everything is done in the source application, you need to seed all the translations, then translate what needs to be and then publish all the translations. When migrating the application, you will have two choices.
- Export the source application and export all mapped translated applications. Then import all the application in the other environment
- Export the source application only including the translations (export preferences attribute). Then import the application in the other environment. Then publish all translations.
I usually go with the second method. If the person that migrates the application knows their way around Apex, it’s not that big of a deal. But when it’s not the developer that migrates the applications (e.g. when it’s the DBAs), it can be more complicated to explain them the complete procedure. Furthermore, it could happen that the person who imports the application simply forgets to publish the translations afterwards.
I thought it would be great if the option to include translations when exporting the application also published them when importing the application, but unfortunately, it’s not the case.
One thing you can do is to use the apex_lang.publish_application API.
You can use it just like in the API’s documentation example as a script you would need to run after the import process.
But it would be great if that was executed as part of the install process.
Supporting Objects to the rescue!!
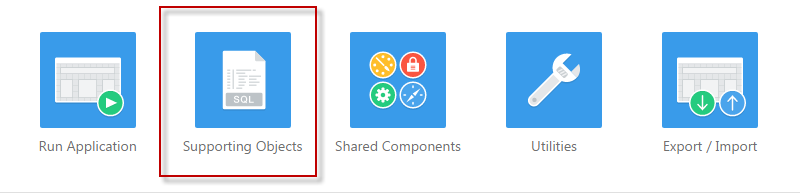
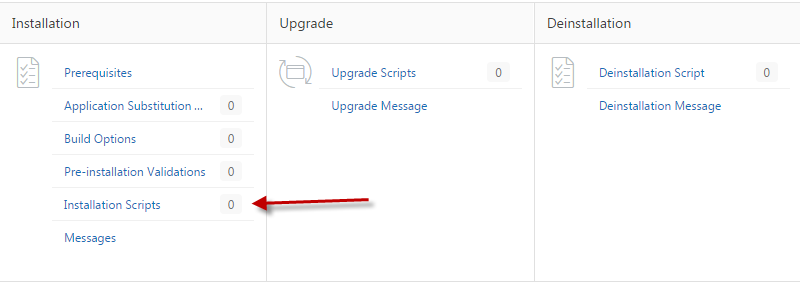
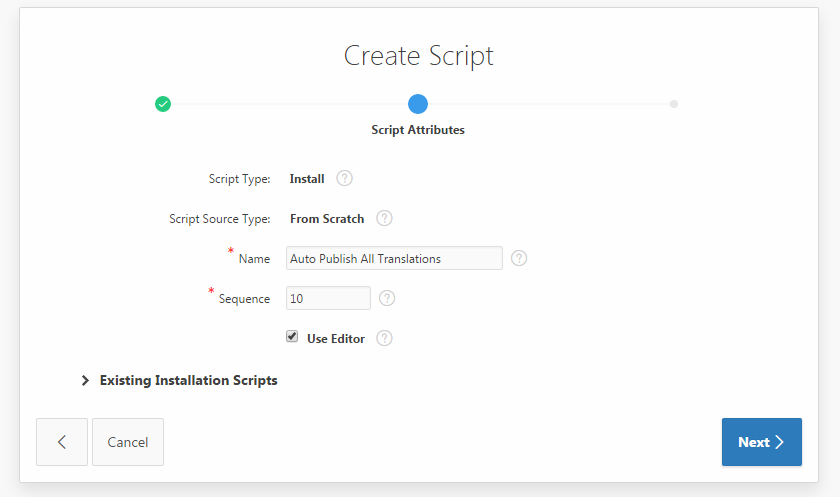
What we need to do is to create an Installation Script from scratch using the Editor that simply calls the API.

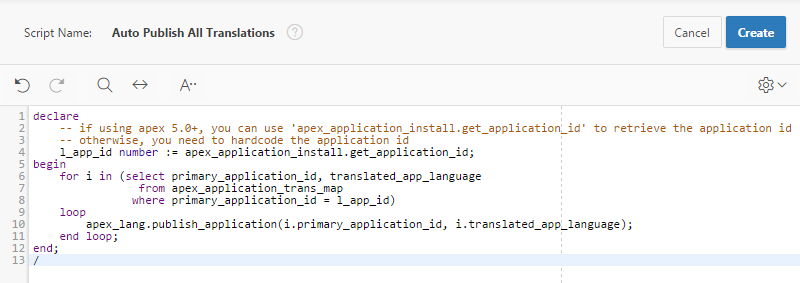
Use below code:
declare
    -- if using APEX 5.0+, you can use 'apex_application_install.get_application_id' to retrieve the application id
    -- otherwise, you need to hardcode the application id
    l_app_id number := apex_application_install.get_application_id;
begin
    for i in (select primary_application_id, translated_app_language
                from apex_application_trans_map
               where primary_application_id = l_app_id)
    loop
        apex_lang.publish_application(i.primary_application_id, i.translated_app_language);
    end loop;
end;
/
Then, when you’ll export your application, make sure you include the supporting objects and that you export the translations.
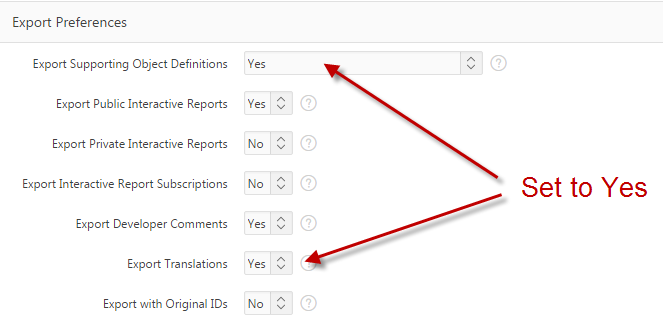
Note: Depending on how you will import the application, the “Export Supporting Object Definitions” attribute has to be set to either “Yes” or “Yes and Install on Import Automatically”.
Looking at the attribute’s help:
- Yes Includes supporting object definitions in the application export. Does not automatically load supporting objects when invoked from a command line.
- Yes and Install on Import Automatically Includes supporting object definitions and a call to install supporting objects in the application export. This option is valid only for command line installs. When application imports from the command line, it automatically installs or upgrades the supporting objects.
So, if you import the application from Apex either will work, but if you import from a command line, you should set the attribute to “Yes and Install on Import Automatically”.
When you’ll import the application, simply choose to install the supporting objects.
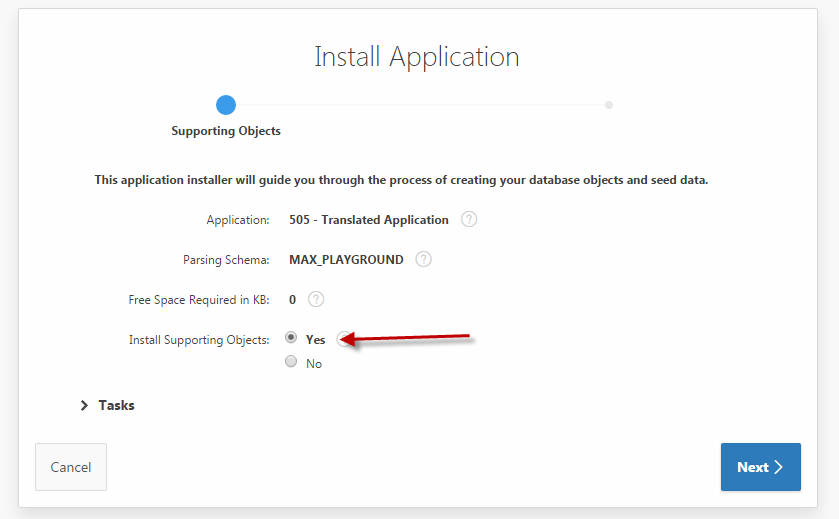
Voila, your application’s translations will be automatically published as part of the import process.
EDIT: Added a note regarding the “Export Supporting Object Definitions” attribute.